Learn the key differences between a relay and a relay module, how they work, and when to use them in DIY and Arduino projects. Perfect for beginners!
Introduction
Whether you’re building a DIY smart home project or automating lights with Arduino, you’ve probably come across relays and relay modules. But what exactly is the difference between these two? Should you use a simple relay or go for a relay module?
In this complete beginner’s guide, you’ll learn:
- What a relay is
- What a relay module is
- The key differences
- How each works
- Which one to use in your electronics project
Let’s dive in.
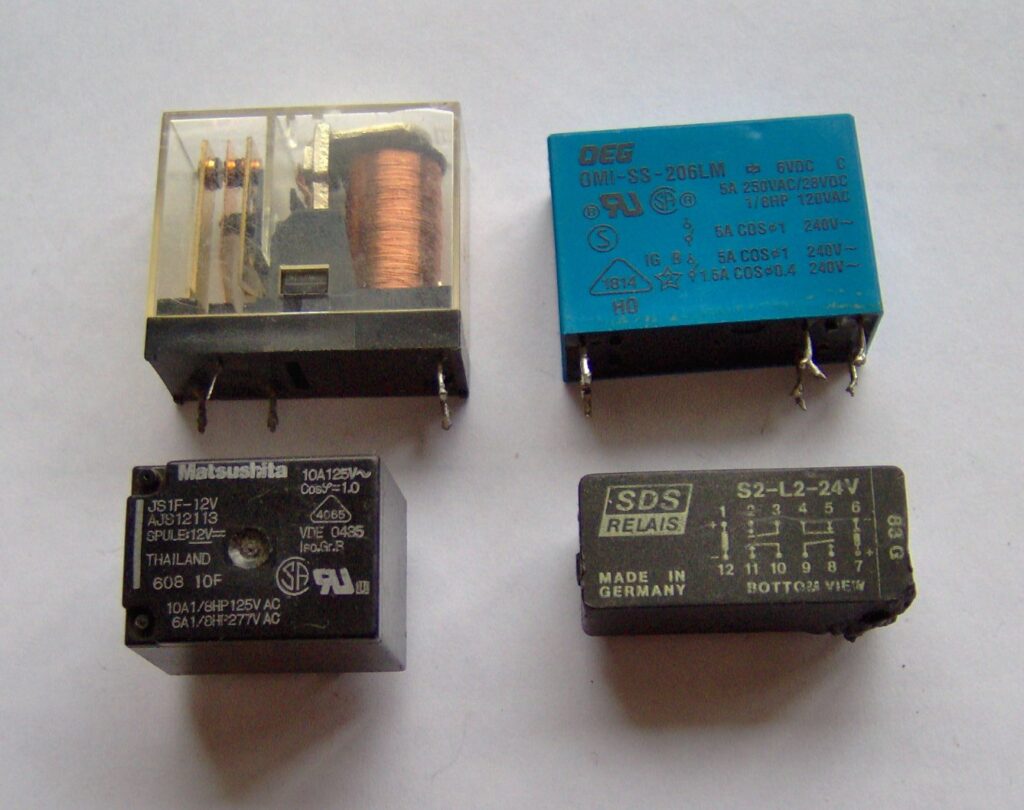
What is a Relay?
A relay is an electromechanical switch used to control high-voltage devices like lights, fans, or motors using a low-power signal. It works like a remote-controlled switch.
Basic Parts of a Relay:
- Electromagnet (coil)
- Armature (switching mechanism)
- Contacts (NO – Normally Open, NC – Normally Closed, and Common)
How It Works:
When voltage is applied to the coil, it creates a magnetic field. This field pulls the armature to switch the contacts from NC to NO, allowing current to flow to the load.
Relays are commonly used in:
- Car electronics
- Home appliances
- Industrial automation
- DIY electronics
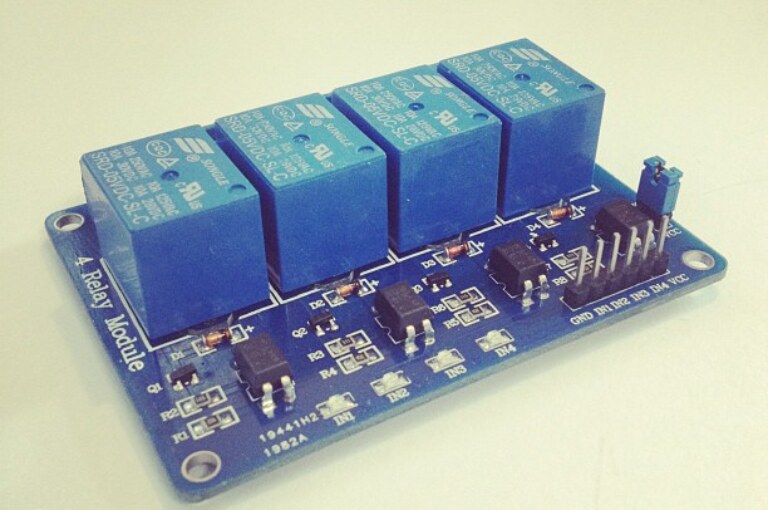
What is a Relay Module?
A relay module is a ready-to-use circuit board that includes:
- One or more relays
- Transistors to drive the relay
- Flyback diodes for protection
- Optocouplers (in some cases)
- Indicator LEDs
- Screw terminals or headers for easy connection
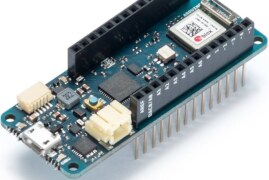
It is specifically designed to interface with microcontrollers like Arduino, ESP32, Raspberry Pi, etc.
Relay vs Relay Module: Key Differences
| Feature | Relay | Relay Module |
|---|---|---|
| Definition | An electromechanical switch | Pre-built circuit containing relay and driver components |
| Ease of Use | Requires external components | Plug-and-play ready |
| Microcontroller Compatibility | Not directly compatible | Directly compatible |
| Protection Features | No built-in protection | Includes flyback diode, transistor, and sometimes optocoupler |
| Size | Small (just the switch) | Slightly larger due to extra components |
| DIY Skill Level | Intermediate to advanced | Beginner-friendly |
Practical Example
Scenario 1 – Using a Bare Relay with Arduino
To use a relay, you must build a driver circuit:
Required components:
- NPN Transistor (e.g., 2N2222)
- Flyback Diode (e.g., 1N4007)
- Base Resistor (e.g., 1kΩ)
- External power supply for the relay
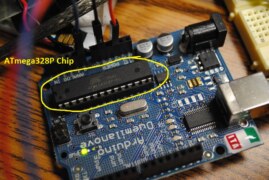
- Arduino
Wiring this manually takes time and increases the chances of errors.
Scenario 2 – Using a Relay Module with Arduino
Just connect:
- VCC to Arduino 5V
- GND to Arduino GND
- IN to any digital pin (e.g., D7)
Done! The onboard transistor and protection diode handle the rest.
Why Use a Relay?
Relays are essential when:
- You want to control high voltage AC devices (110V or 220V) using Arduino or Raspberry Pi.
- You need electrical isolation between control and power circuits.
- You want to toggle large currents with a low signal voltage.
Types of Relay Modules
Relay modules come in different configurations:
- 1-Channel Relay Module
- 2-Channel Relay Module
- 4-Channel Relay Module
- 8-Channel Relay Module
They can handle loads like:
- Lights
- Fans
- Water pumps
- Home appliances
Choose based on how many devices you want to control.
Internal Components of a Relay Module
- Relay Switch – the main switch.
- Transistor – amplifies current to drive the relay.
- Flyback Diode – protects the microcontroller from voltage spikes.
- Indicator LED – shows the relay status (ON/OFF).
- Resistors – used for current limiting and biasing.
- Screw Terminals – connect AC loads like bulbs or fans.
- Optocoupler (optional) – provides electrical isolation for added safety.
Applications in Arduino & DIY Projects
- Home Automation (lights, fans, ACs)
- Smart Switches
- IoT Projects
- Line-following robots with AC motor
- Temperature-based automatic fan control
- Motion sensor-based lighting systems
Which One Should You Use?
Use a Relay if:
- You are designing your own custom PCB.
- You want full control over each component.
- You are building an industrial-grade project.
Use a Relay Module if:
- You want quick and easy setup.
- You’re working on a DIY or Arduino project.
- You are a beginner or hobbyist.
Circuit Diagram – Relay Module with Arduino
Here’s how you can connect a relay module to Arduino to control a bulb:
Connections:
- Relay VCC → Arduino 5V
- Relay GND → Arduino GND
- Relay IN → Arduino Digital Pin (e.g., D8)
- NO (Normally Open) → One terminal of the bulb
- COM (Common) → Live AC wire
- Other terminal of bulb → Neutral wire
You can control the relay by writing digitalWrite(D8, HIGH); to turn ON the bulb.
❓ Frequently Asked Questions (FAQs)
❓ Can I use a relay without a module?
Yes, but you must build a driver circuit with a transistor and diode to protect your microcontroller.
❓ Are relay modules safe?
Yes, they include protection features like flyback diodes, indicator LEDs, and sometimes optocouplers. Always handle high voltage with care.
❓ Can relay modules work with 3.3V boards like ESP32?
Yes, many relay modules support 3.3V logic. Check your relay module specs.
❓ What voltage can relay modules handle?
Most relay modules support up to 250V AC at 10A. Always check the relay rating printed on the component.
❓ Can I control DC motors with a relay?
Yes, but relays are slow. For speed control, consider transistors or MOSFETs instead.
Conclusion
Understanding the difference between a relay and a relay module can save you time, prevent circuit damage, and make your electronics projects more efficient.
- Use a relay module if you’re working with Arduino or other microcontrollers.
- Use a bare relay only if you’re experienced or building your own custom circuits.
Whether you’re turning on a lamp or automating your home, relay modules are beginner-friendly and powerful tools in the world of DIY electronics.
Related Posts:
- How to Control Lights with Arduino and Relay Module
- Understanding Transistors for Beginners
- Smart Home Automation with ESP32 and Relays
photo Source: Wiki media