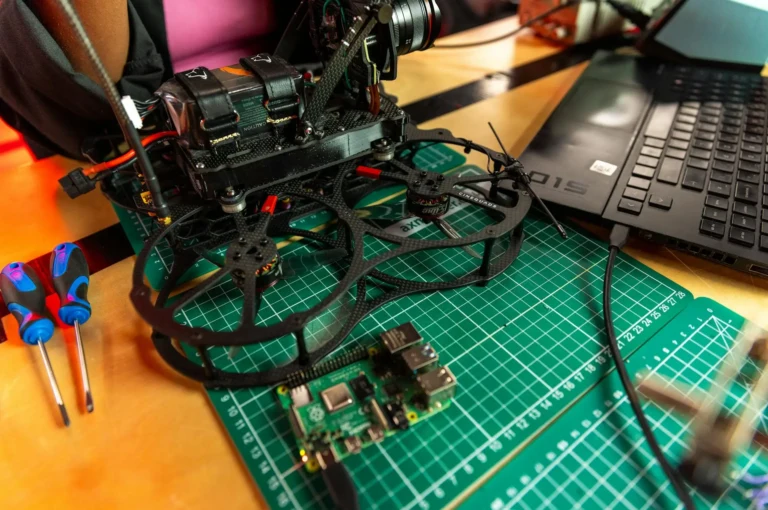
Have you ever watched a drone soar through the sky and thought, “I want to build one myself!”? Well, you’re in the right place. In this guide, I’ll walk you through the entire process of building a DIY drone (quadcopter) at home—from choosing the right components to making it fly.
Whether you’re a student, a tech enthusiast, or just a curious mind, this article will help you get off the ground—literally!
What is a Quadcopter?
A quadcopter is a type of drone that uses four rotors for lift and maneuverability. The magic lies in the balance between the four motors and the flight controller that makes it fly stable in the air.
It’s widely used in aerial photography, delivery systems, agriculture, and even military surveillance. But today, you’re going to build your own for fun, learning, or even a science project.
Components Required to Build a DIY Drone
Here’s a basic list of what you’ll need:
| Component | Description |
|---|---|
| Frame | Holds everything together (usually X-shaped) |
| Brushless Motors (x4) | Main motors that spin the propellers |
| Electronic Speed Controllers (ESCs x4) | Regulate motor speed |
| Flight Controller | Acts as the brain of the drone (e.g., KK2.1.5, APM, or Arduino-based) |
| LiPo Battery | High-discharge battery to power the system |
| Propellers (x4) | Two clockwise and two counter-clockwise |
| RC Transmitter & Receiver (6+ channel) | For remote controlling the drone |
| Power Distribution Board (PDB) | Distributes battery power to ESCs and FC |
| Screws, Nuts, Zip Ties, Wires | For mounting and wiring |
| Optional: GPS, Camera, Buzzer | For FPV or autonomous features |
💡 suggestion: Learn more about Brushless Motors →
Step-by-Step Guide to Build Your DIY Drone
1. Choose & Assemble the Frame
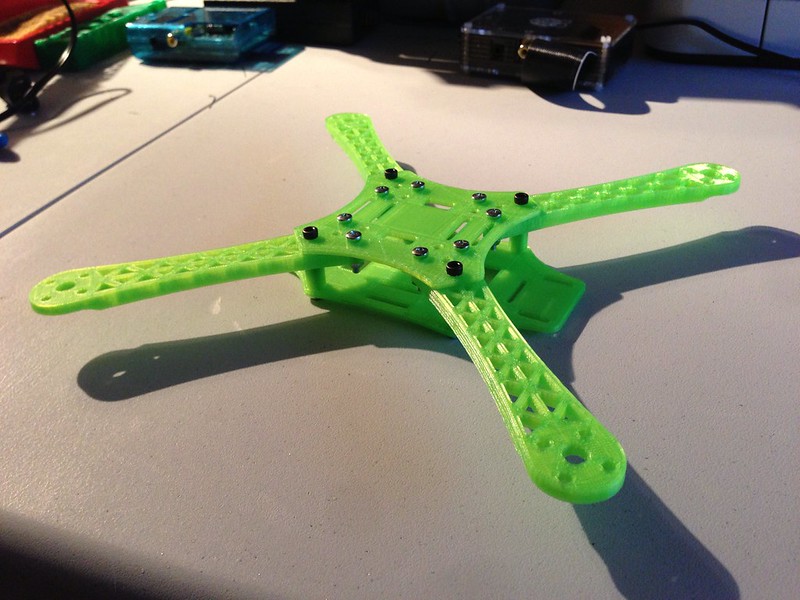
Start with a carbon fiber or plastic X-frame, typically 450mm size is ideal for beginners. Mount the four arms in X-pattern and make sure it’s strong enough to carry all components.
- Use screws and thread lock
- Avoid unnecessary weight
2. Mount the Motors
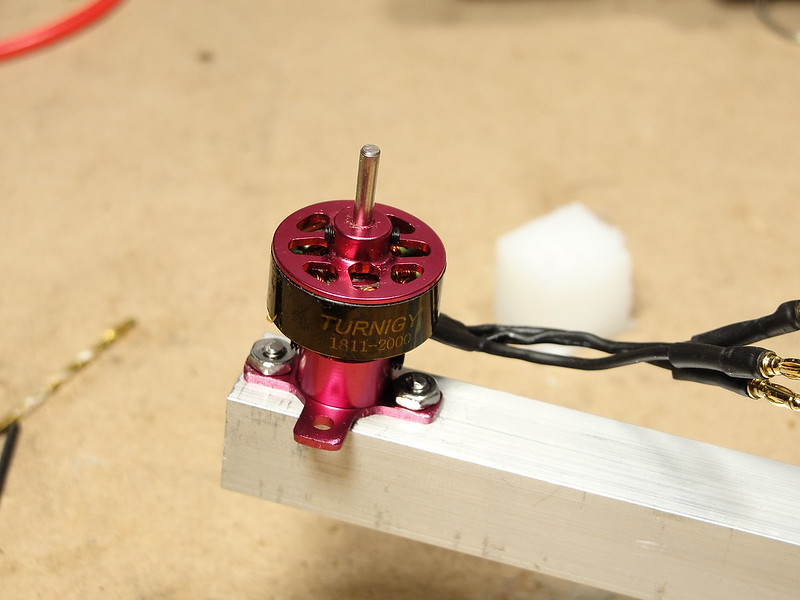
Attach brushless motors to the end of each arm. Make sure:
- Diagonal motors spin opposite directions (2 CW, 2 CCW)
- Tighten screws well
- Use thread lock to prevent vibration
3. Connect ESCs
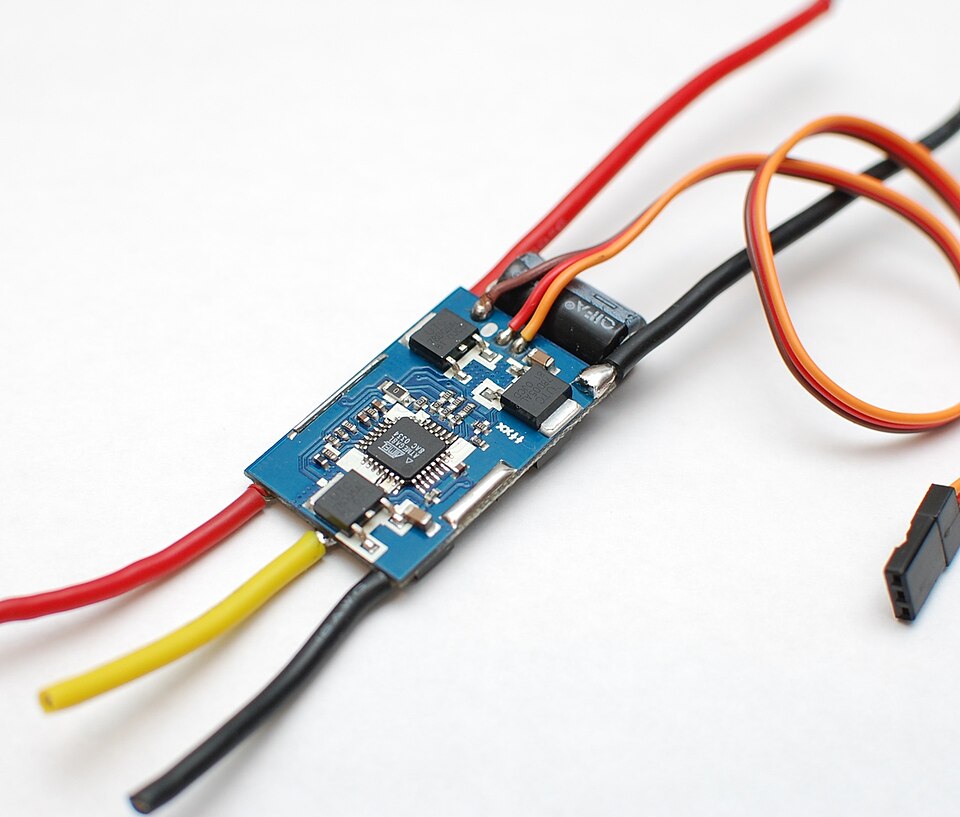
Each motor will have one ESC. Solder the three-phase wires from motor to ESCs, and connect the ESC signal wires to the flight controller.
Power input of ESCs goes to the Power Distribution Board (PDB) or directly to the battery in some cases.
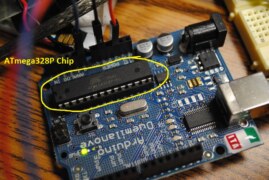
4. Install the Flight Controller
Mount the flight controller (e.g., Arduino + MPU6050, KK2, or APM) in the center of the frame, perfectly flat.
- Use vibration damping pads
- Connect all ESC signal wires to the FC
- Connect power (usually 5V BEC from one ESC or PDB)
If you’re using an Arduino-based FC, you’ll also need to write code to handle stabilization using PID algorithms.
My Suggestion (as a beginner):
If you’re new and just want your drone to fly reliably, go for:
- KK2.1.5 for simplicity, or
- APM 2.8 if you want GPS/autonomous features.
But if you’re a programming enthusiast, then Arduino + MPU6050 is a great way to learn sensor fusion + PID + PWM control.
💡 suggestion: How to Use MPU6050 Sensor with Arduino →
5. Battery & Power Setup
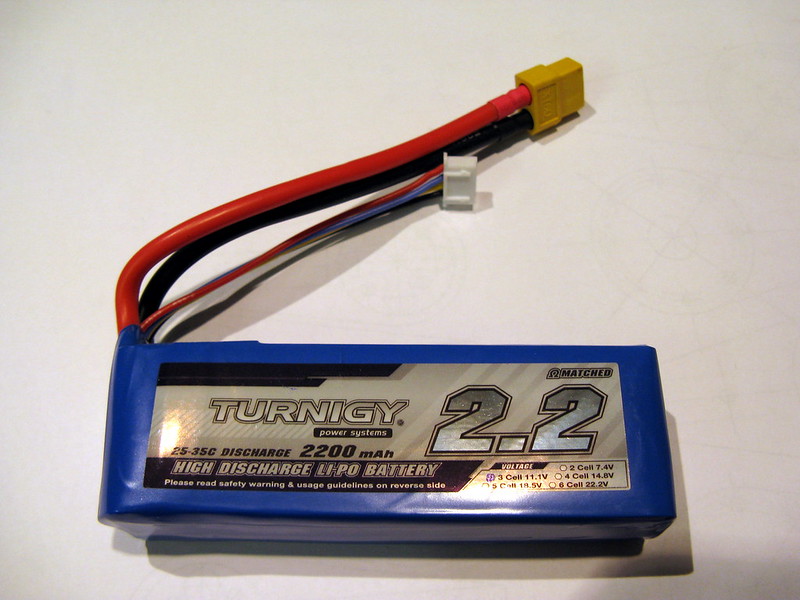
Use a 3S or 4S LiPo battery (2200mAh or more) depending on your motor/ESC ratings. Connect it to the PDB which supplies power to ESCs and FC.
Make sure to:
- Use XT60 connectors
- Never let LiPo discharge below 3.2V per cell
Always check the voltage before flying!
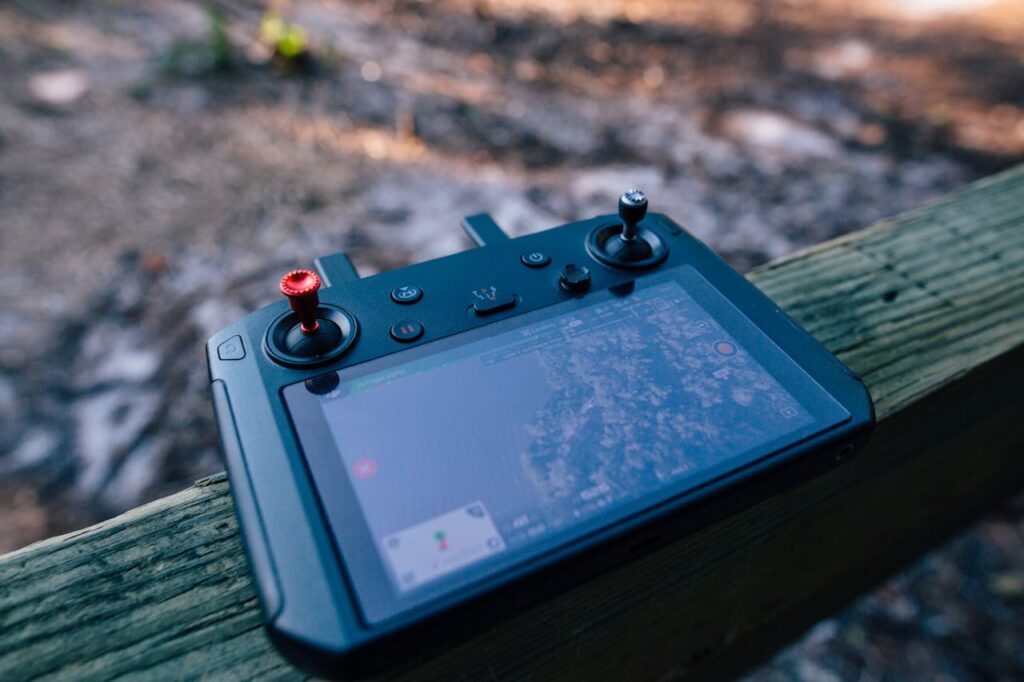
6. Transmitter and Receiver
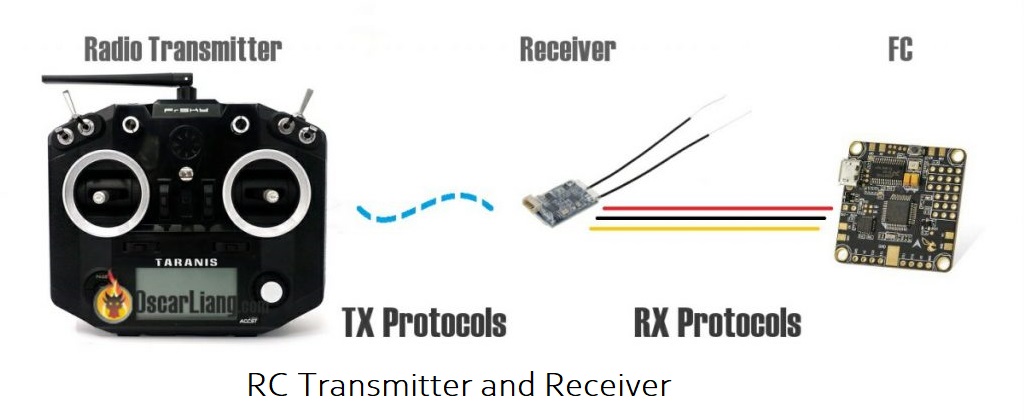
Bind your RC Transmitter and Receiver (FlySky, FrSky, etc.). Connect receiver channels to the flight controller’s input pins.
- CH1: Roll
- CH2: Pitch
- CH3: Throttle
- CH4: Yaw
Calibrate the controller using its software or onboard buttons.
7. Calibrate and Configure
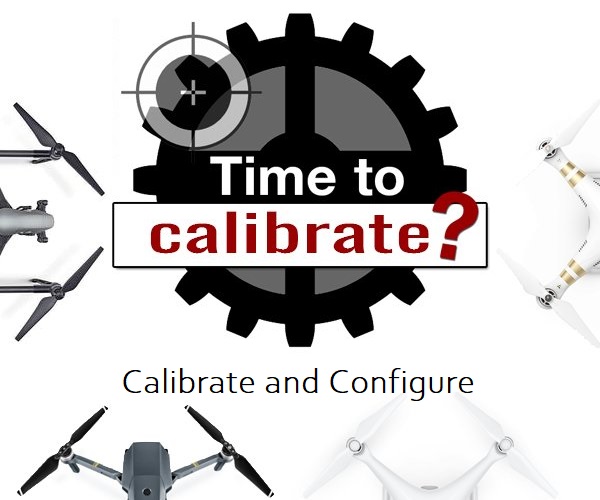
This step is super important.
- Calibrate ESCs (throttle range)
- Calibrate accelerometer and gyroscope
- Set PID values (if using Arduino/APM)
Use software like Mission Planner (for APM) or Arduino IDE (for custom FC).
8. Test Before First Flight
Before flying, test each motor direction and make sure propellers are not installed yet.
- Ensure correct motor rotation
- Check remote controls all axes
- Install propellers only when everything checks out
First Flight: What to Expect?
- Choose an open outdoor area
- Slowly increase throttle
- Use gentle movements
- Practice hovering first, then move on to rolling, pitching, and yawing
Don’t panic if it crashes — it’s all part of the learning!
How a Quadcopter Works
In simple terms:
- Flight controller reads data from sensors like gyroscope and accelerometer
- It adjusts the speed of each motor via ESCs to maintain balance
- Your remote sends commands for throttle, yaw, pitch, and roll
- FC interprets it and stabilizes the drone accordingly
Features of a DIY Drone
- ✔️ Affordable and customizable
- ✔️ Learn core concepts of electronics and aerodynamics
- ✔️ Easy upgrades (GPS, FPV, obstacle avoidance)
- ✔️ Code it your way (especially with Arduino-based FC)
Pros and Cons
Pros
- Excellent learning experience
- Full control over hardware and code
- Modular – easy to repair and modify
- Cost-effective
Cons
- Requires basic knowledge of electronics
- Short flight time (~10-15 mins)
- Can be dangerous if mishandled
- Lots of trial & error involved
FAQs
Q1: Can I build a drone using Arduino?
Yes! You can build a basic drone using Arduino + MPU6050 + ESC + Motors, but you’ll need to handle PID programming and sensor fusion.
Q2: How much does it cost to build a DIY drone?
Around ₹4000–₹8000 ($50–$100) depending on parts, tools, and features.
Q3: Can my drone carry a camera?
Yes, if your frame and motors can handle the extra weight, you can add a WiFi or FPV camera.
Q4: Is it legal to fly a DIY drone in India or US?
For small DIY drones under 250g, it’s mostly allowed for personal use in many regions, but always check your local drone laws.
Bonus Tip: Make It Smarter
Once you’re confident, try adding:
- GPS module for position hold
- Bluetooth or Wi-Fi control
- FPV Camera and transmitter
- Altitude hold with Barometer sensor
Final Words
Building your own DIY drone isn’t just about making something that flies — it’s about learning, experimenting, and pushing your boundaries. Expect a few crashes, lots of tweaking, and moments of frustration, but trust me — the first successful flight is unforgettable!
Related Guides from ToolopediaX:
- Brushless Motor vs DC Motor
- What is ESC (Electronic Speed Controller)?
- How to Use LiPo Battery Safely
- [Arduino Flight Controller DIY Guide (Coming Soon)]
If you enjoyed this project, share your drone photos or ask questions in the comments. Happy flying!
Feature image source : Photo by
Leave a comment